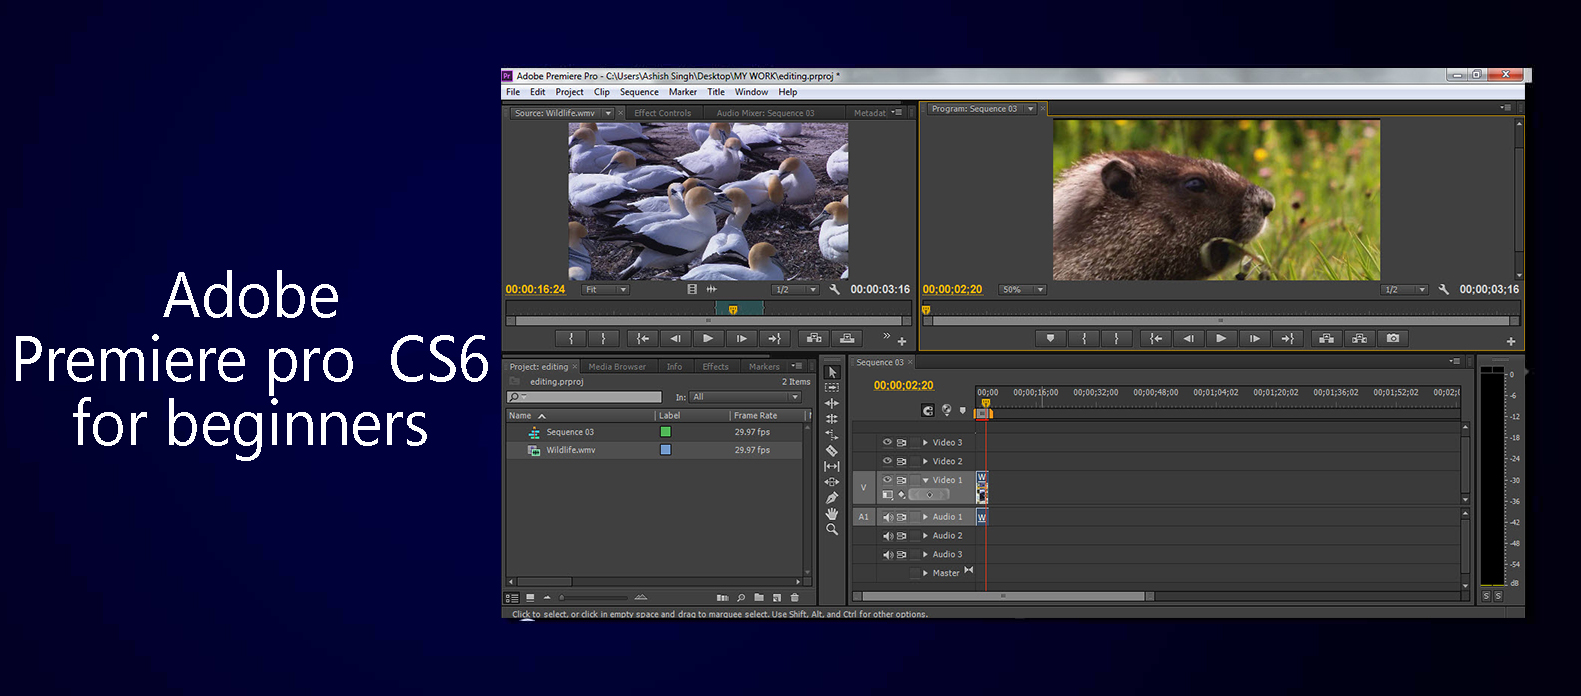
Hello guys I am Nitish Kumar your guide for Adobe Premiere Pro CS6. Last time Vaibhav discussed about Adding Instagram X-Pro Effect to an Image using Photoshop which is really a recommended tutorial if you are an Instagram fan. From today onward I will be discussing about the magic you can create with this software. I welcome you all to my first article on Adobe Premiere Pro CS6 for beginners. In this article I will be telling you about the very basic things of Adobe Premiere Pro CS6.
WELCOME PAGE
As you can see there is a small pop up window showing three options New Project, Open Project and help. Well I think you all will agree that there is no need to discuss about the help button. The second option is the Open Project where you can open your previous project and continue your work on it. This is the point from where we will start in this article. Press the New Project button
FORMAT DIALOGUE BOX
You will get a window like this. As you can clearly see a dialogue box is there in the window this comes only when you are about to do a new Project or composition. This dialogue box allows you to make some basic changes in the format of the project as you can see there is a general caption which is the on the leftmost corner of the dialogue box. This helps you to change the format of the Video which you are going to edit. It has three categories video, audio and capture. Now as you are beginner’s I would strongly recommend you not to change the default setting as you are not familiar with feet frame, millisecond and HDV. Moreover the default format is best for doing any kind of project (personal experience).
Well you will also find a scratch disks button right beside the general button and this will look like
SCRATCH DISK
As you can see the contents of this box is different and is definitely important. Well you need to always make sure that each and every category in this dialogue box should have same as project selected on it, as it’s important so that any editing you do is done on this particular Project/composition. The next important thing is path of your project ,well I would like you to suggest to not to save your project in the same disk as the window (in my case D drive is my windows drive) because if in any case you need to format your computer you can still retain your work(which is Damn! Important ). I would also like to suggest you to give a descent name to your project.
Once you have performed all the above steps correctly you can press OK .
SEQUENCE
After pressing ok a new dialogue box will pop up named New Sequence.
Well readers I will tell you about this part later in my other article. So for the time being you press the cancel button. Once you have done that a screen will appear like this.
USER INTERFACE
Reader’s above shown image is the user interface of Adobe Premiere Pro CS6. Adobe has made the interface more cool and good looking this time. What we are concerned here about is the Project Panel (this is what I call it) which is at the leftmost down corner of the panel, as you can see the name of your project which you had given earlier is written with .prproj (premium project).
PROJECT PANEL
In this workspace you can upload your audio, video, picture, graphics etc. which you want to edit. This also contains the effect category which looks like this.
Here you can select the kind of effect you want to create in your project/composition. For the moment let’s leave it, we can discuss it later.
IMPORTING VIDEO
You must be wondering why we are focusing more on the project panel it’s because this is the place where you upload your video which you want to edit. Just double click on the black region after selecting the project editing category.
You will get a pop up written import on it as you can see there is a video file named Wildlife selects the file and then press open.
As you can see your video has now been imported in the project panel. In here you can see your video by pressing spacebar and you can enlarge the size of your video thumbnail in the project panel by dragging ![]() this marker to the right.
this marker to the right.
SMART TIP
Well reader’s if in any case in place of pressing the project editing/panel button you close it (not only the project panel but anything on the interface J ) you can get it back by clicking on the window button and selecting the following options.
Now guys I’ll tell about the sequence which I had mentioned that I would tell later. You need to know why we need a sequence. We need a sequence so that we can drag our video to the Source pane.
Hence to create a sequence what you can do is press the button which is in the project editing panel.
Once you have clicked on the sequence button a pop up will come for sequence.
I would suggest you to press ok as the default configurations are the best for any kind of composition. One you have done that you can drag your video to the source panel.
Your Video is now ready for editing.
Read the PART II here.
Read next tutorial by Vaibhav where he will be discussing about Adding Catch Light to Eyes in Photoshop.
Thanks for reading this article. Have a nice day. 🙂


