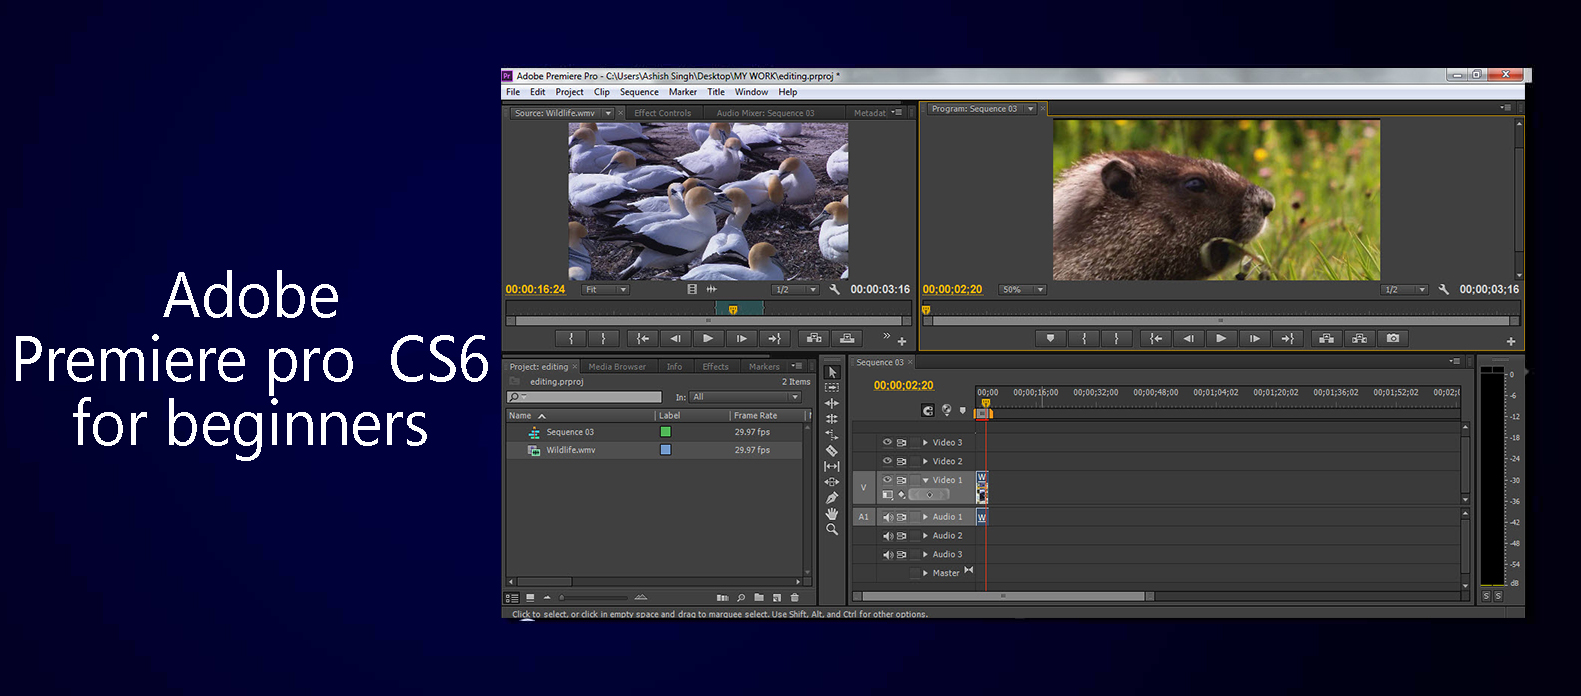
Hello guys I am Nitish Kumar,welcome back to the second tutorial of our beginner’s series of ADOBE PREMIERE PRO CS6. To read previous article you can click here. Well readers in this article I’ll be continuing from the last topic of our previous article which was sequence. I assume that by now you are clear with the idea of creating a new file,importing video in the project panel,creating a new sequence. If not you can read the first article,if you have any queries you can post it or mail it to me.
Now what you have to do is that drag your video/composition to the ( after you have imported it in the project panel ![]() ) time line panel.
) time line panel.
TIME LINE PANEL
As you can see I have named the composition as naruto and brought it in the time line panel,it’s very important to do because in your time line you can minutely study your video and then decide the proper cuts you want to have. Once you have done that you can see the video in the time line.
You would have noticed that as soon as you have imported the video in the time line panel you will see the same video has come up in the panel right above the time line panel. This panel is called the program panel.
PROGRAM PANEL
The program panel gives the output of the timeline line panel i.e. if you move the marker in the timeline panel the video corresponding to that time/set marker is displayed in the program panel. But before we get in the details of the program panel we need to know about the source panel. The source panel is present right above the project panel.
SOURCE PANEL
This is the place where you start your basic editing. First of all you will have to know how to bring your video to the source panel. It’ s very easy just drag the video in the project panel and drop it in the source panel.
As soon as you do that you will see that your video has been uploaded in the source panel. The source panel is equipped with all basic editing tools.
This is the tool pad of the source panel, insert helps you to insert a part/whole video with some other video in the timeline panel. The go to in button and go to out button helps you to take marker to begging and end of the video. The forward video right button helps you to fast forward the video in forward direction and vice versa for the step back button.
MARK IN MARK OUT
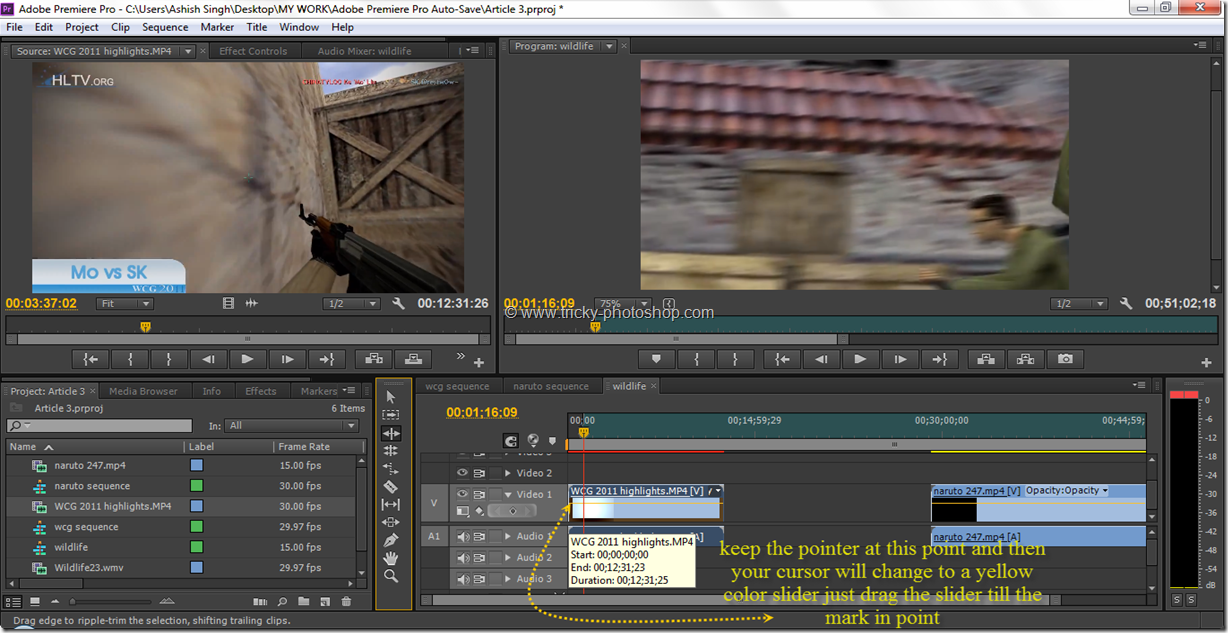
The mark in and mark out button in the toolbar helps you to mark the entry and exit of any special part of the video (e.g. any part of the movie you like ![]() ). Once you have pressed the in button (keyboard shortcut I) the right side of your video will be selected that to in blue.
). Once you have pressed the in button (keyboard shortcut I) the right side of your video will be selected that to in blue.
As you press the out button (keyboard shortcut o) the part of the video is selected as you can see in the picture. Now to bring the selected video of the composition in the time line you will first have to press the drag video only button and then drag the video to the timeline panel for editing.
Press the button and drag the video.
Sorry guys I’ll have to wrap up here, but I seriously request you to go through this article carefully and attentively as we will begin our next tutorial from this last topic which I have posted. I again repeat if you have any doubt’s/quarries regarding this article or previous article you can mail me or post your doubt. Till then goodbye and have a nice day.


