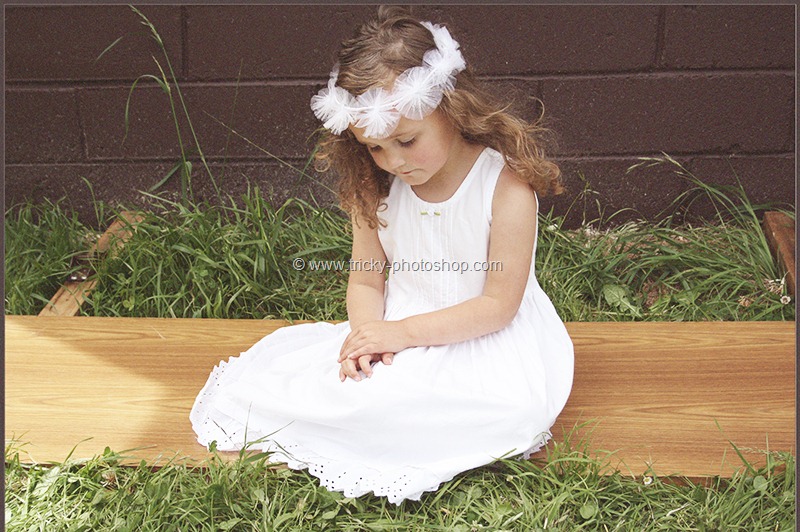
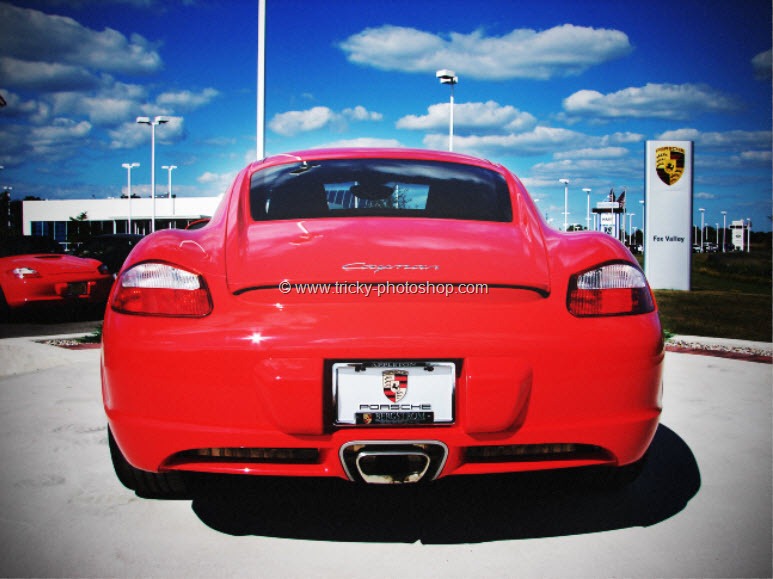
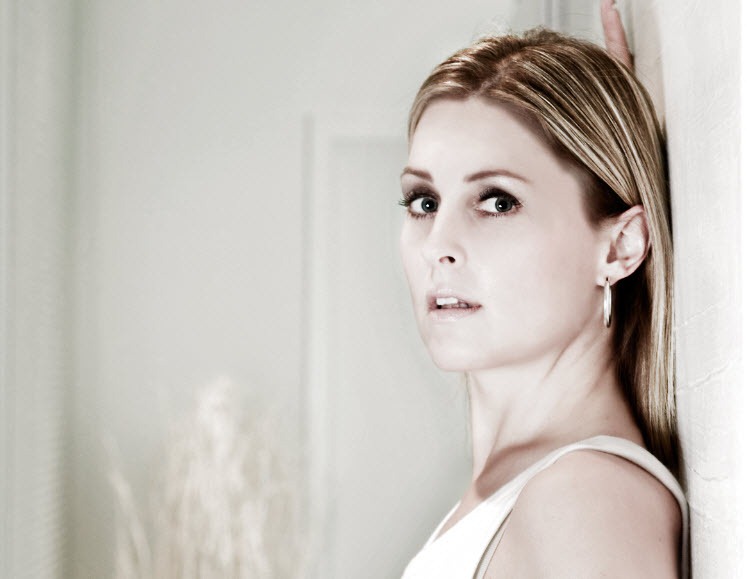
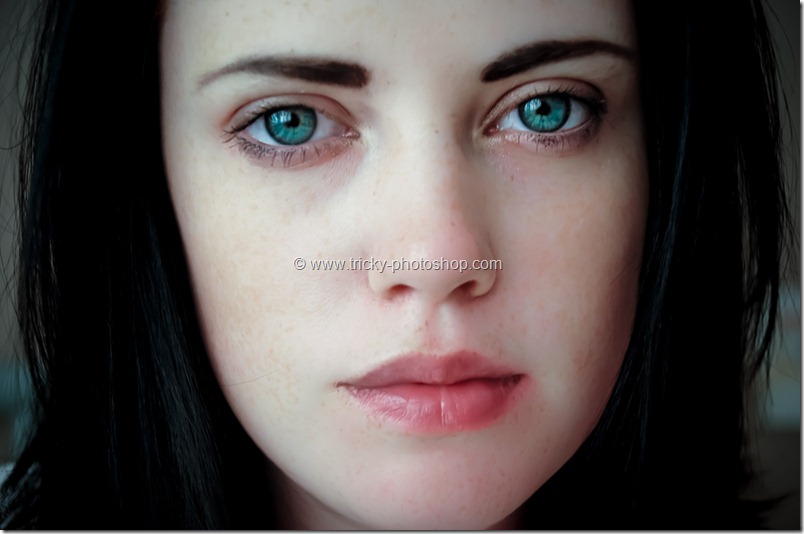
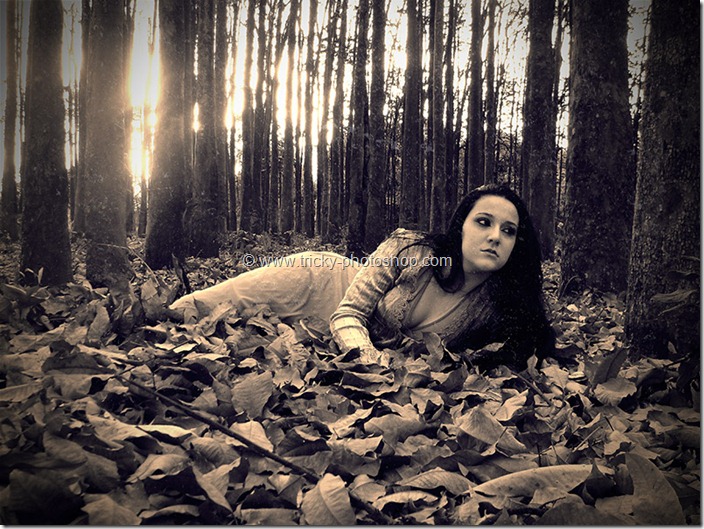
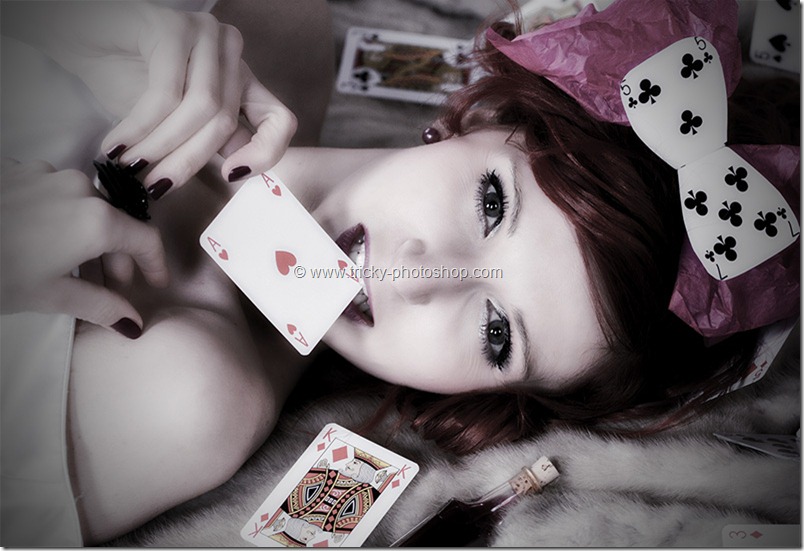
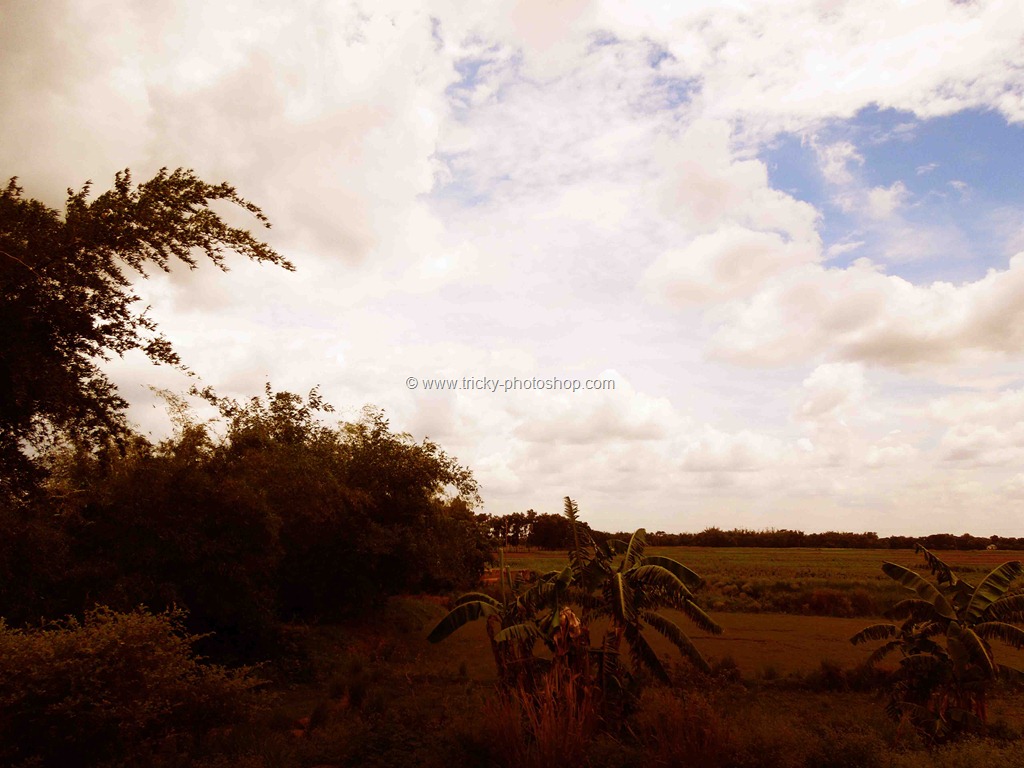
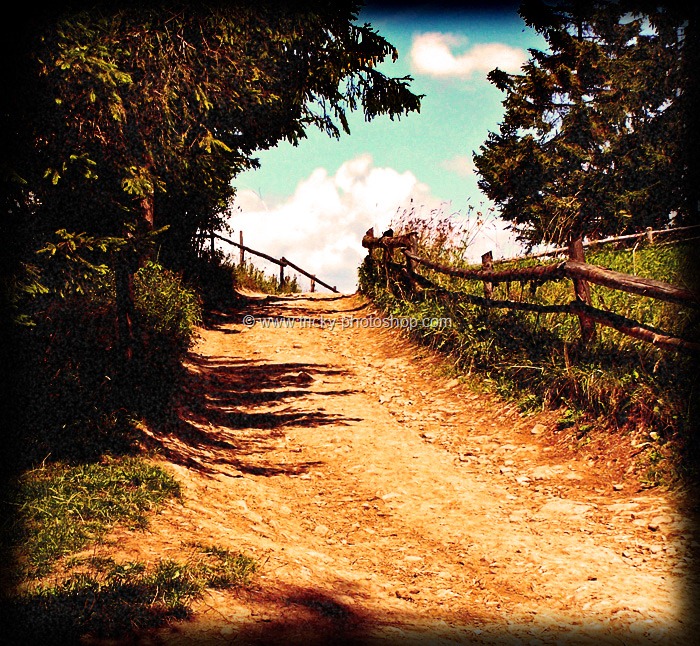
Hello guys I am Vaibhav and in this tutorial I am going to show you how to create Instagram Mayfair effect using Photoshop. Last time I discussed about Creation of Navigation Bar in Photoshop which is really a recommended tutorial for web designers. For this tutorial I am going to use layers, layer adjustments and some filters with blend modes. The most basic thing of Instagram is to crop a image with perfect square dimension. But I am not going to do this. By the way if you want to crop your image with square dimension than click here and head over to constraint proportion column.
FINAL
INITIAL
STEP 1
Open your image in Photoshop. Create a new layer by pressing ctrl+shift+N/cmd+shift+N or you can also do it by going to layer>new>layer. Rename that layer to noise.
Now make black as your foreground color by pressing D. Now we are going to fill our “noise” layer with our foreground color. Press Alt+backspace/Opt+delete to fill you noise layer with your foreground color i.e. black color.


