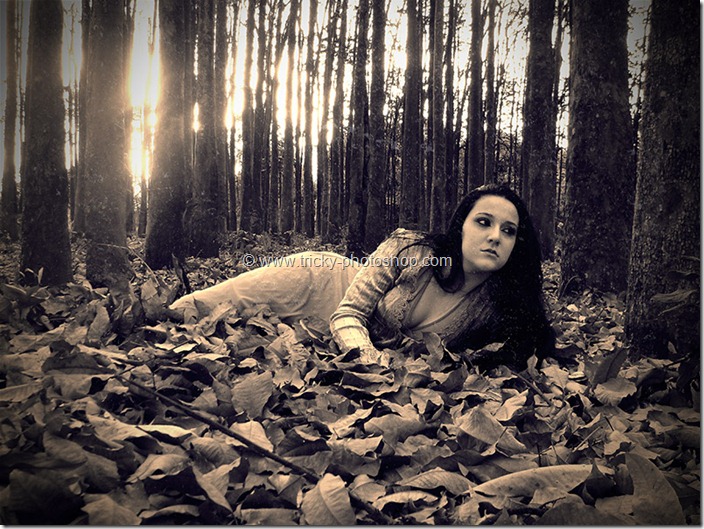
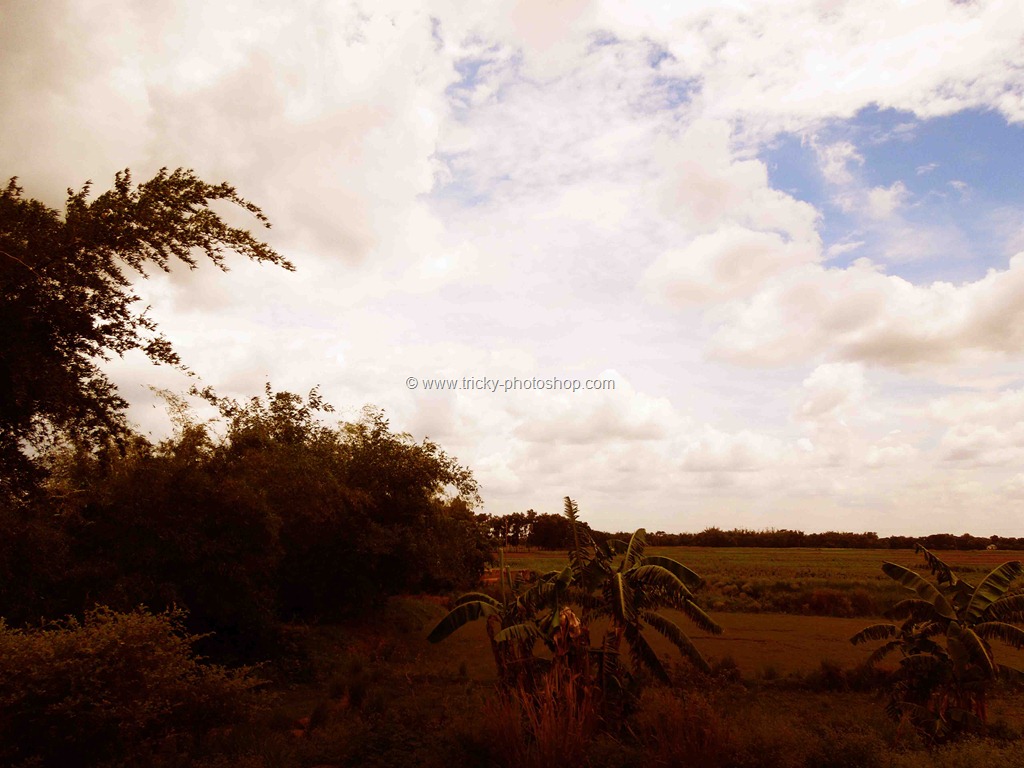
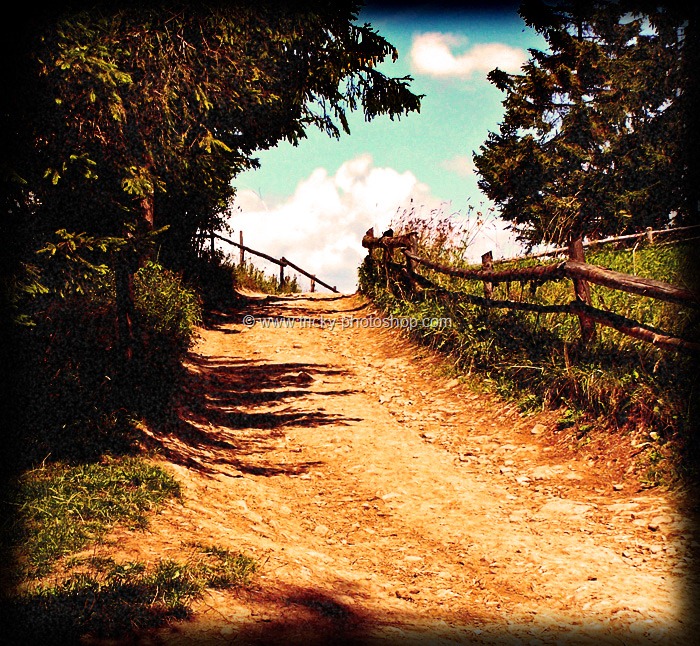
Hello guys I am Vaibhav and back with another tutorial on creating Lomo effect using Photoshop. Last time I discussed about Adding Retro Effect to an Image which is a recommended tutorial for photographers. For this tutorial I am going to use 1 stock image with some adjustment layers. So let’s start over.
[message_box title=”Stock Image” color=”red”]http://anettfrozen.deviantart.com/art/In-red-302879256[/message_box]
FINAL
INITIAL
STEP 1
Open your image in Photoshop. First thing that we need to do is to readjust the colors in the image. I am going to do this using Gradient Map. Go to Layer>New Adjustment Layer>Gradient Map. Then click on the color. You may look at the below image for reference.
Then look at the below image and proceed accordingly.
Then fill #030629 in the color code box.
Look at the below image and proceed accordingly.
This time fill #40ffbe in the color code box. Press Ok. Change the blend mode of Gradient Map layer to Overlay and reduce the opacity to 77%. Your image should look like this.


