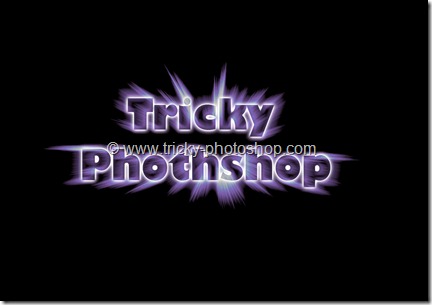
Hello guys I am Vaibhav and in this tutorial I am going to show you how to recreate a Bee Movie text using Photoshop. Last time I discussed about Adding Dynamic Light to Image using Photoshop which is an extremely important tutorial if you are a landscape and travel photographer. For this tutorial basically what I am going to do is to create a new text layer and then I will add some “Layer Styles” to that text layer to achieve desired result. This one is a short tutorial and not going to take more than 10 minutes.
FINAL
INITIAL
STEP 1
So we are going to start with the background creation. I am going to set my width and height as 1920×1080(Best resolution for the text art) because I don’t compromise with the quality of the photo.
Change the name to Bee Movie. Leave the resolution at 72 pixels/inch because it is best for text art. If you increase the resolution, your image will take more space which I don’t think is a good option. Fill the background with black color. To do this press D to make black as your background color. Then press alt+backspace/option+delete to fill the background with black color. By the way I have written a whole tutorial on Creating a New Document in Photoshop and I think that you should check out that tutorial.
STEP 2
Now I am going to use a movie screenshot of the movie for the background purpose.
Open this photo is Photoshop in a new tab. Press ctrl+A/cmd+A to select the whole image. Then go back to Bee Movie tab and press ctrl+V/cmd+V to paste it. After doing this reduce the opacity of the layer 1 to 10-25%.


