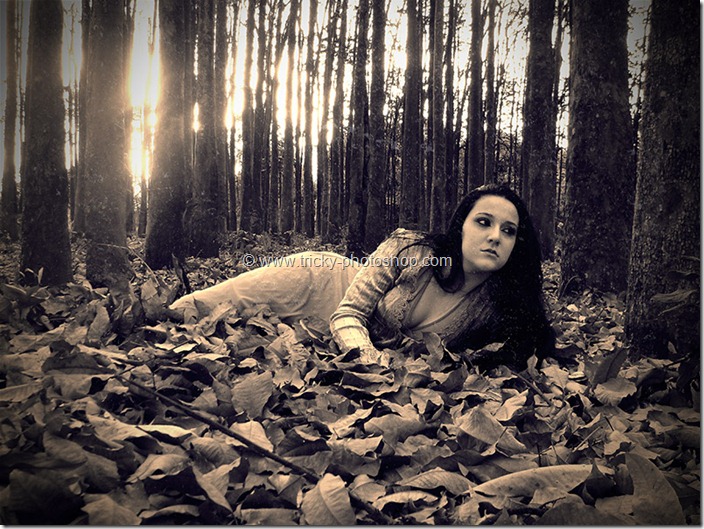
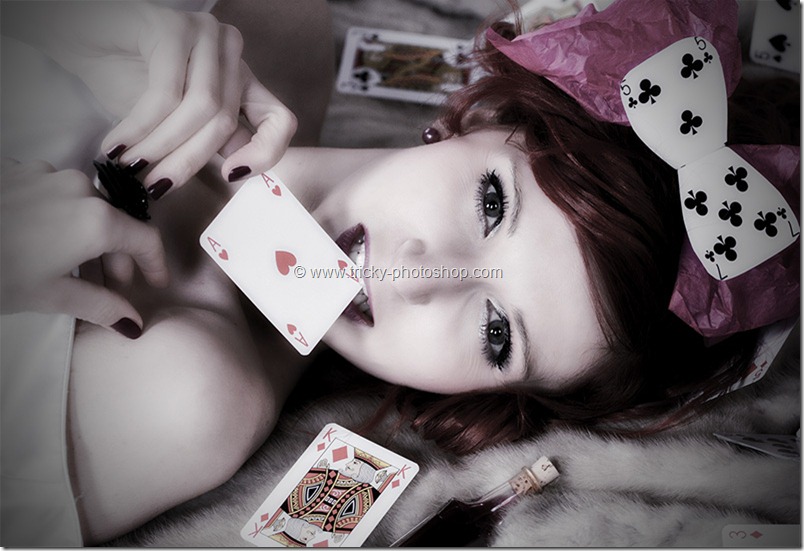
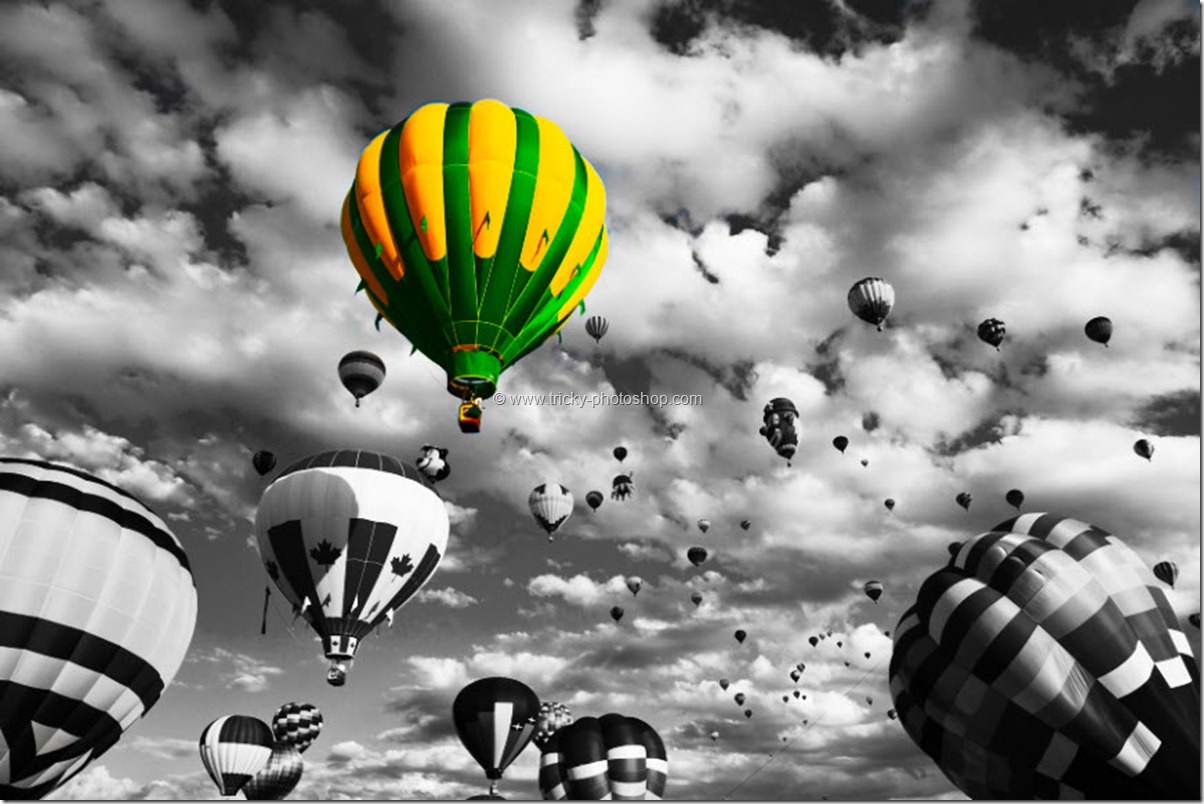
Hello guys I am Vaibhav and in this tutorial I am going to show you how to create half sepia effect using Photoshop CS6. Last time I discussed about Adobe Lightroom 4 Shortcuts which is really an important tutorial for Lightroom users. Well this effect works great effect for portraits and sometime landscape also especially on the images take during golden hour photography. I am going to use layers, channels, high pass filter, gaussian blur etc. So let’s start.
Stock: http://www.sxc.hu/photo/807374
FINAL
INITIAL
STEP 1
First off I am going to crop the image. To know how to crop you can read my tutorial on cropping an image using Photoshop.
I think now this photo looks better.


