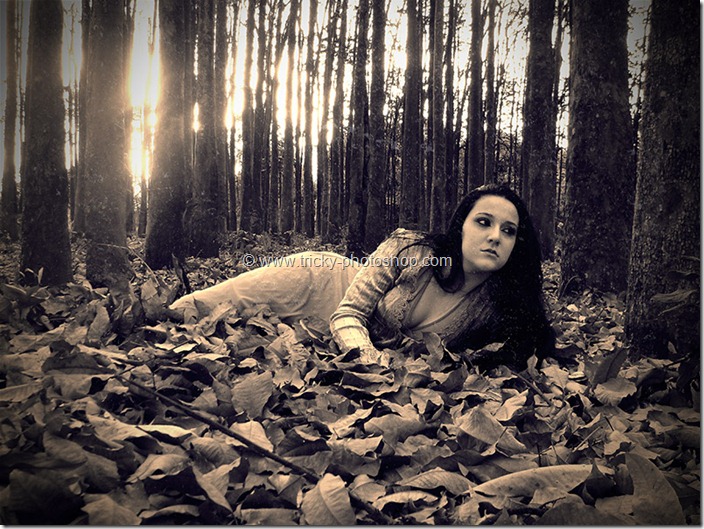
Hello guys I am Vaibhav and in this tutorial I am going to show you how to create Instagram’s Hudson effect in Photoshop. Last time I discussed about Creating Bursting Text tutorial in Photoshop which is a recommended tutorial for graphic designers. In this tutorial what I am going to do is to create lots of adjustment layers to get the prefect result. By the way you can also check whole list of Instagram Tutorials in this site. I am going to use Layer Panel, Adjustment Layers etc.
My Final Image
Initial photo that I got from deviantart.com

STEP 1
Basically I am going to add some noise to my photo. Create a new layer by pressing ctrl+shift+N/cmd+shift+N. Now press D to make black as your foreground color. Now press alt+backspace/opt+delete to fill the newly created layer with black color.


