Welcome back, folks! Today, we’re going on more details in Camera RAW in Photoshop. This tutorial in the continuation of my past tutorial on Camera RAW in Photoshop – Part I. Last time, I covered Basic, Tone Curve, and Detail tabs. In this tutorial, I’ll cover HSL, Split Toning, Lens Correction, and Camera Calibration.
You’re not going to use the tabs frequently that we’re going to learn today. Whenever I open Camera RAW, I use Basic and Noise 70% of the time and rest of the tabs 30% of the time.
So, let’s begin with the tutorial.
Step 1: HSL and Grayscale in Camera RAW
HSL stands for Hue, Saturation, and Luminance. I think that there is no real estate available in Photoshop interface so Adobe decided to go with the short form.
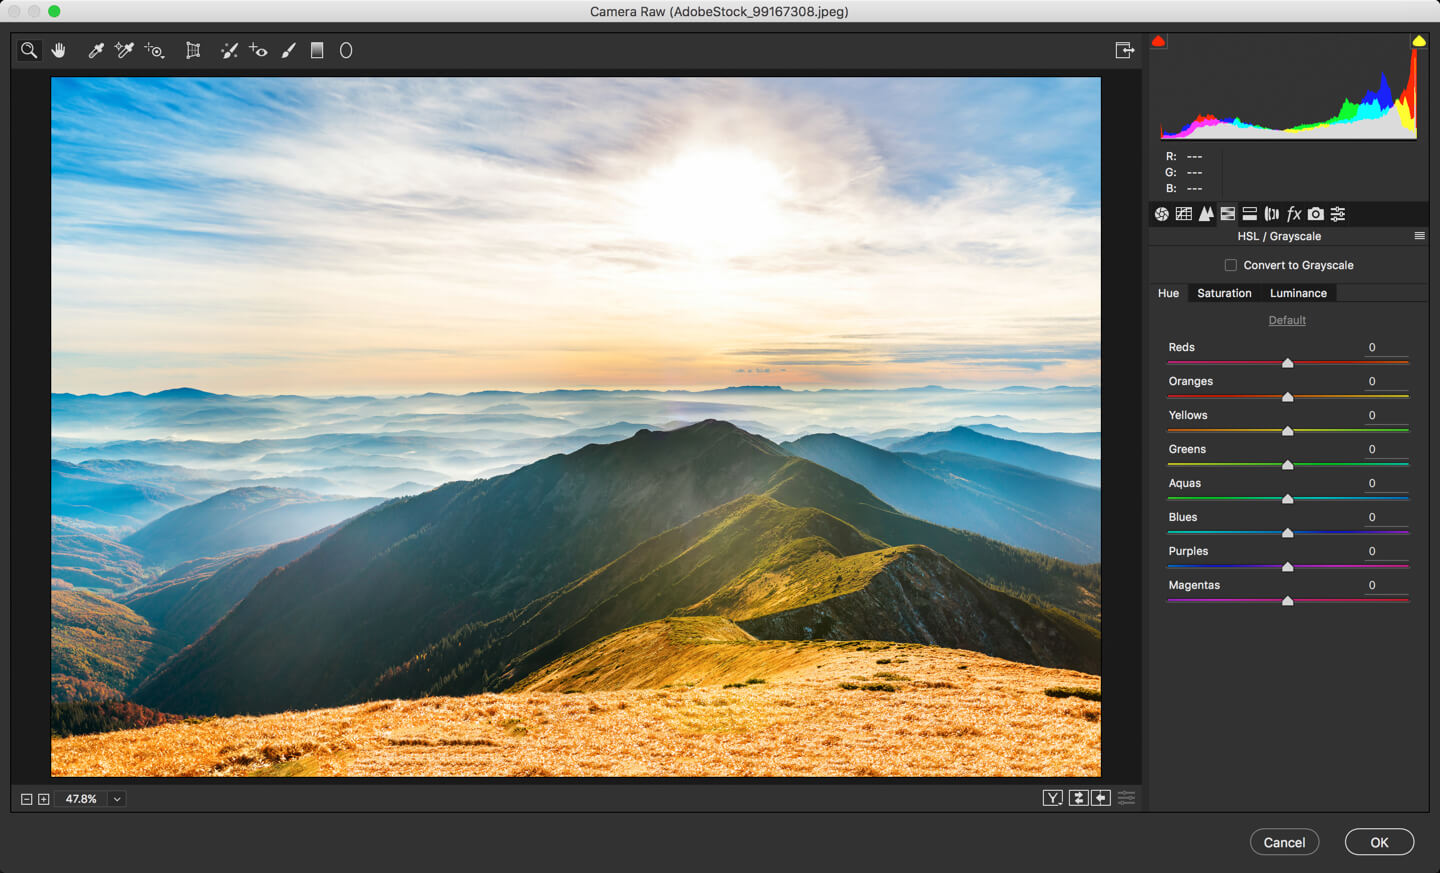
In this tab, you can change the Hue, Saturation, and Luminance of an image or convert an image to Grayscale (Black and White).
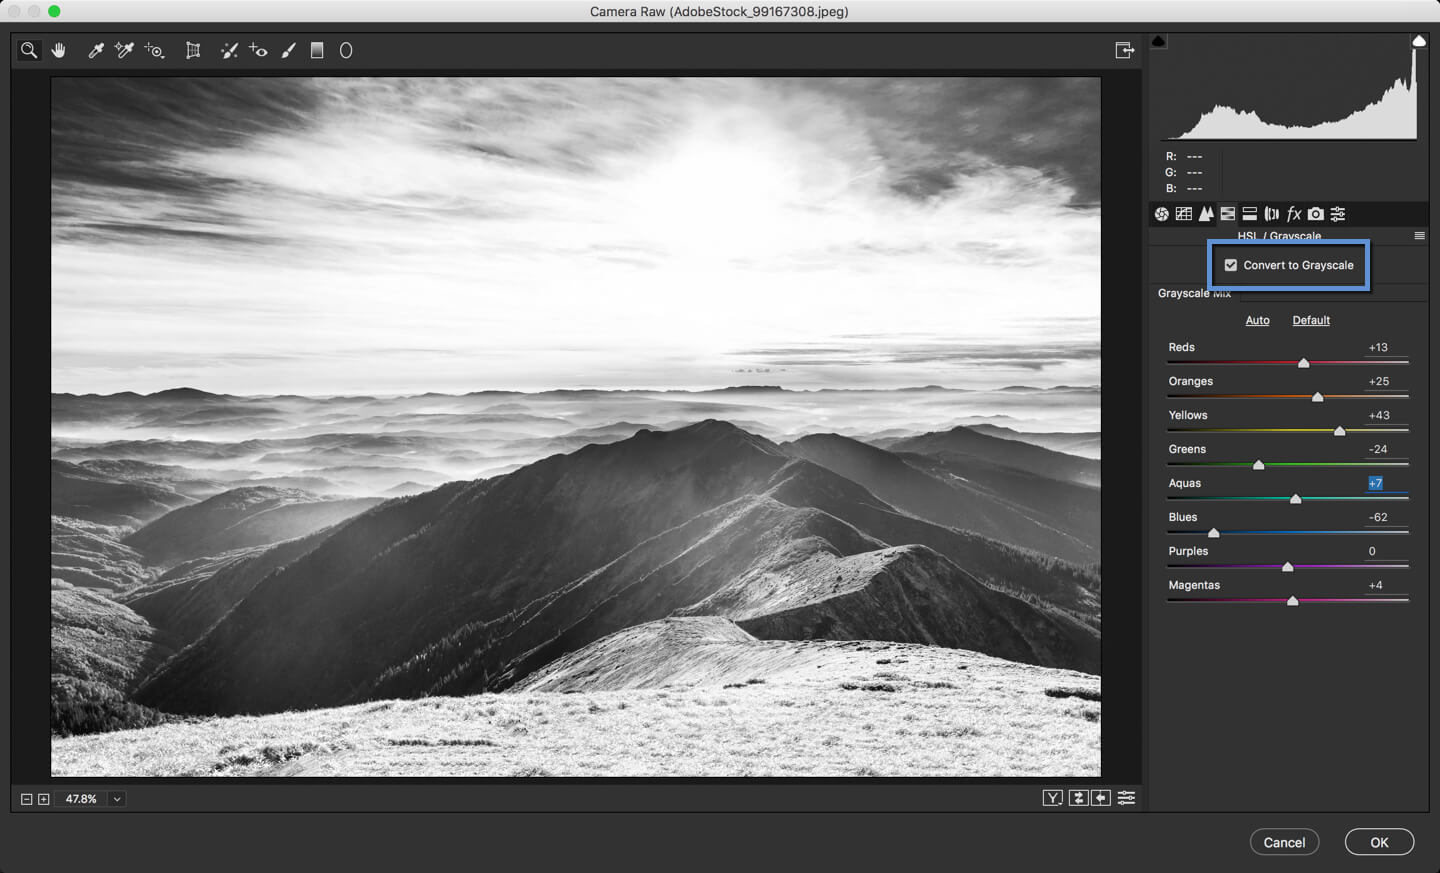
First off, I’ll show you how to convert an image to Grayscale. All you need to do is to click on “Convert to Grayscale”.
Now that you know how to convert an image to Grayscale in Camera RAW, time to learn HSL. If you look at the below screenshot, you’ll find three tabs which are Hue, Saturation, and Luminance.
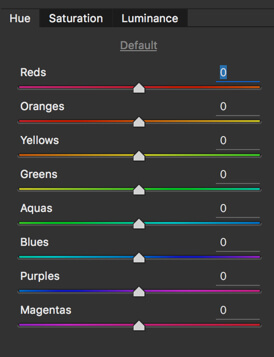
Let’s understand each of them one by one.
- Hue: Hue is the color in your image. It changes your color. Look at the first slider which is Red. If you drag all the way to left, all red present in your image will become Pink. If you drag is all the way to the right, the red in your image will convert to Orange.
- Saturation: Saturation is the intensity, or richness, of that color. Switch to the second tab. Now if you drag the Red to the left, the Red will become gray. If you drag the Red to the right, it’ll become more saturated any may be unpleasing to the eyes.
- Luminance: Luminance controls the brightness value. Switch to the third tab. If you drag it to the left, Red will get darker and then to Black. If you slide it to the right, Red to turn lighter and then to White.
Step 2: Split Toning in Camera RAW
Split Toning is the easiest way to give a very colorful effect to your photos.
Split toning involves tinting the shadows of an image in one color and the highlights in another color. Although mostly applied to black and white images, this method can quite successfully be used on color images.
In the image, I kept the image colored and applied Split Toning.
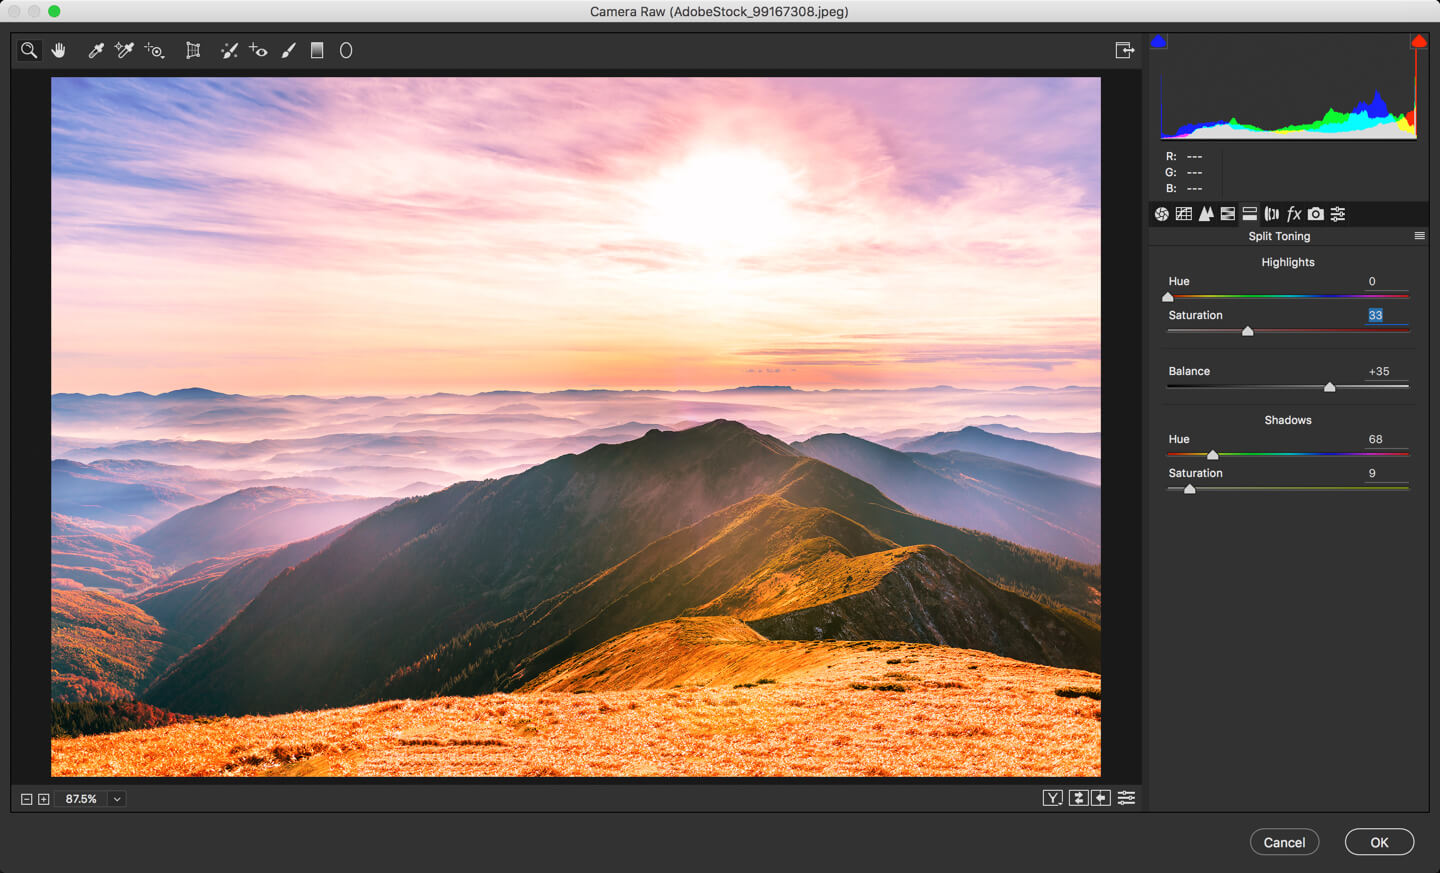
It has three sections which are Highlights, Balance, and Shadows.
In the Highlights section, if you change the Hue slider, the highlights of the image will have a hue of that color.
The same goes with the Shadows slider.
Note: You must drag the Saturation first at least to 10 before you slide the Hue slider. This is because, if Saturation is 0 then you won’t see any difference if you drag the Hue slider.
In the Balance slider, you can set the balance between highlights and shadows. I have set it to 35% which means that whatever is less than 35% brighter than the absolute mid point, will be considered as the highlight.
Step 3: Lens Correction in Camera RAW
This tab is used to correct all the defects that a lens add.
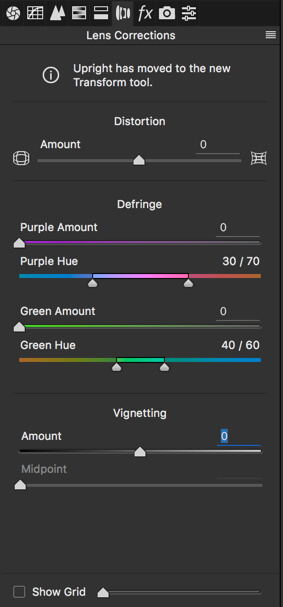
Let me explain each slider one by one.
- Distortion Amount: Even lenses worth of $2,000 distorts the image. They make the image blobbed in the middle which disturbs the lining of the images. Use this slider to remove the blobbiness.
- Defringe: In some images, you see either a purple or green line around the edges of things in your image. Generally, these lines are noticeable only when you zoom in the image. This defringe slider helps you to remove it.
- Vignette: You already know what a vignette it. It’s the black or white circular shape which fades into its background without a definite border. You can either add or remove vignette using this slider. Drag it to the right to remove and drag it to the left to add.
Step 4: Effects in Camera RAW
Adobe named this panel as Effects but I personally don’t believe that you can create any nice looking effects from this panel.
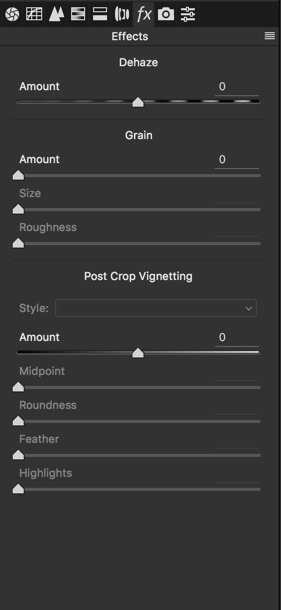
First is Dehaze. It does what its name suggests. This slider helps to remove or add the haze in the image. Photoshop is not a magical tool so let’s not expect any magical return when using this slider. 🙂
Grain adds grain in the images. You may want to use it if you’re a wedding photographer. Most wedding photographers intentionally add grains to make the images beautiful.
You are wondering that why is Vignette also here even if you saw it in the previous panel. Both will give the same result as long as your image is not cropped. I’d like you to do a task. Close Camera RAW and crop an image. While cropping, make sure that you don’t turn on “Delete Cropped Pixels”. Once done, again open Camera RAW and try the two sliders. You’ll see the different results. I leave it to you to figure out why did you see different results.
Step 5: Camera Calibration in Camera RAW
In this tab, you can define the process in Camera RAW.
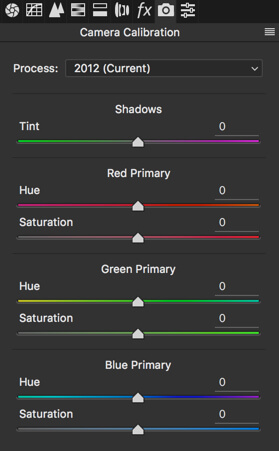
The process version is the Camera Raw technology that Photoshop uses to adjust and render photos. The latest version in 2012.
This is the place where you calibrate the RGB (Red, Green, and Blue) of the image. You probably don’t want to change it because it is really tough for a beginner’s eyes to detect the miscalibration in R, G, and B.
That’s all, folks!
Let’s meet next week. Make sure you watch other tutorials on 30 Days to Learn Photoshop series.


 | TrickyPhotoshop")


