Hey guys I am Vaibhav and today I am going to how to Colorize Black and White Images in Photoshop. Last time I discussed about Spot Healing Brush Tool which is an awesome tutorial if you are a Photoshop beginner.
Today’s tutorial is going to be quite boring because we need to add color to the image step by step and also consumes too much time. For this tutorial basically what I am going to do is create new layer and then I will change the Blend Mode of that layer. After that I will start brushing on the image to give artificial colors.
Stock: http://fetishfaerie-stock.deviantart.com/art/Red-168342176
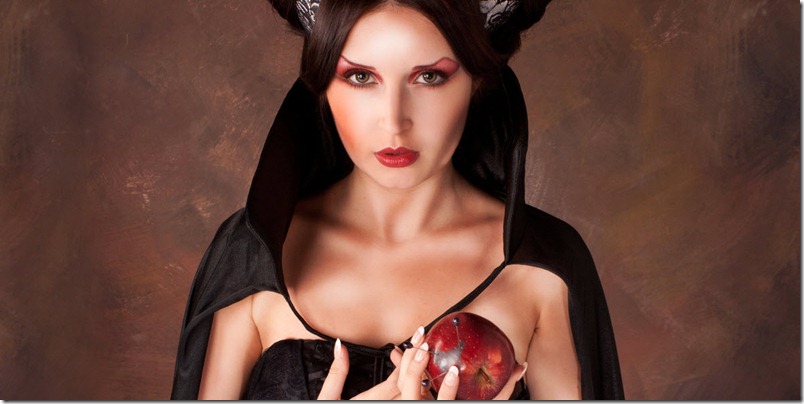
The stock image is not black and white but I converted the image to black and white for the sake of this tutorial. I usually do this kind of little manipulations to the stock image whenever I do not get any desired stock image.
FINAL
INITIAL
STEP 1
The first thing that we need to do is to create a new layer. You can do this by either going to Layer>New>Layer or you can press Ctrl+Shift+N/Cmd+Shift+N. We are going to add color to her lips first. Rename the layer to “Lips” and change the Blend Mode to Soft Light. I have written a whole tutorial on Blend Modes and probably you should check out that tutorial if you are not aware of the power of the Blend Modes.


